Summary | What you need | How to decarb weed in the oven | Alternative methods
Making edibles is fun and a great way to use your cannabis, but you can’t just stick your pot in some brownies and go to town.
First, you need to decarboxylate your cannabis. This is essentially a chemical process, but one which transforms the natural form of things like THC in your cannabis into the potent, useable form. So if you’re interested in making your own edibles, oils or anything similar, it’s absolutely crucial to “decarb” it first.
The good news is that even though the process takes a little bit of time from start to finish – and can stink up your house a little – it’s very easy to go through and you can do it with items you’ll almost certainly have at home anyway.
Summary
- You need to decarb your weed before using it in food or oils, otherwise it won’t work!
- The easiest approach needs either a couple of sheets of parchment paper or foil.
- Pre-heat your oven to 225 °F (107 °C).
- Lightly crumple some foil or parchment and lay it out on a baking tray.
- Break up your weed (or grind if you like) and spread it across the foil.
- Cover the weed with another layer of foil or parchment.
- Bake for 45 minutes.
- Take it out and leave it to cool for 30 minutes.
- Use it or store it as needed.
Why Do You Need to Decarb Weed?
Decarboxylation is necessary because the form of THC in the plant – the main psychoactive component – is actually THCA. This is the “acid” form of THC, and if you just straight-up eat the weed you won’t get very high from it.
Chemically, decarboxylating is the process of removing the carboxyl (COOH) group from the THCA, and thus converting it into usable THC. This actually happens eventually anyway, so really old weed will probably already be decarbed. The equivalent process also needs to occur for CBD (in the plant, CBDA) and other cannabinoids too.
When you vaporize or smoke cannabis, the heating inherent in those methods essentially decarbs it for you, so that’s why you really only need to think about this when you cook it.
What You Need
You only need some very basic equipment to decarb your weed using the oven method:
- Oven
- Baking tray
- Aluminum foil or parchment paper
- Your weed
How to Decarb Weed: The Easiest Method (6 Steps)
There are a few different methods you can use to decarb weed, but the easiest method just involves baking the cannabis in the oven for around 45 minutes. This is the major method we’ll describe in this post, but we will also cover the basics of the alternative approaches.
Time needed: 1 hour and 20 minutes
- Prepare Your Oven
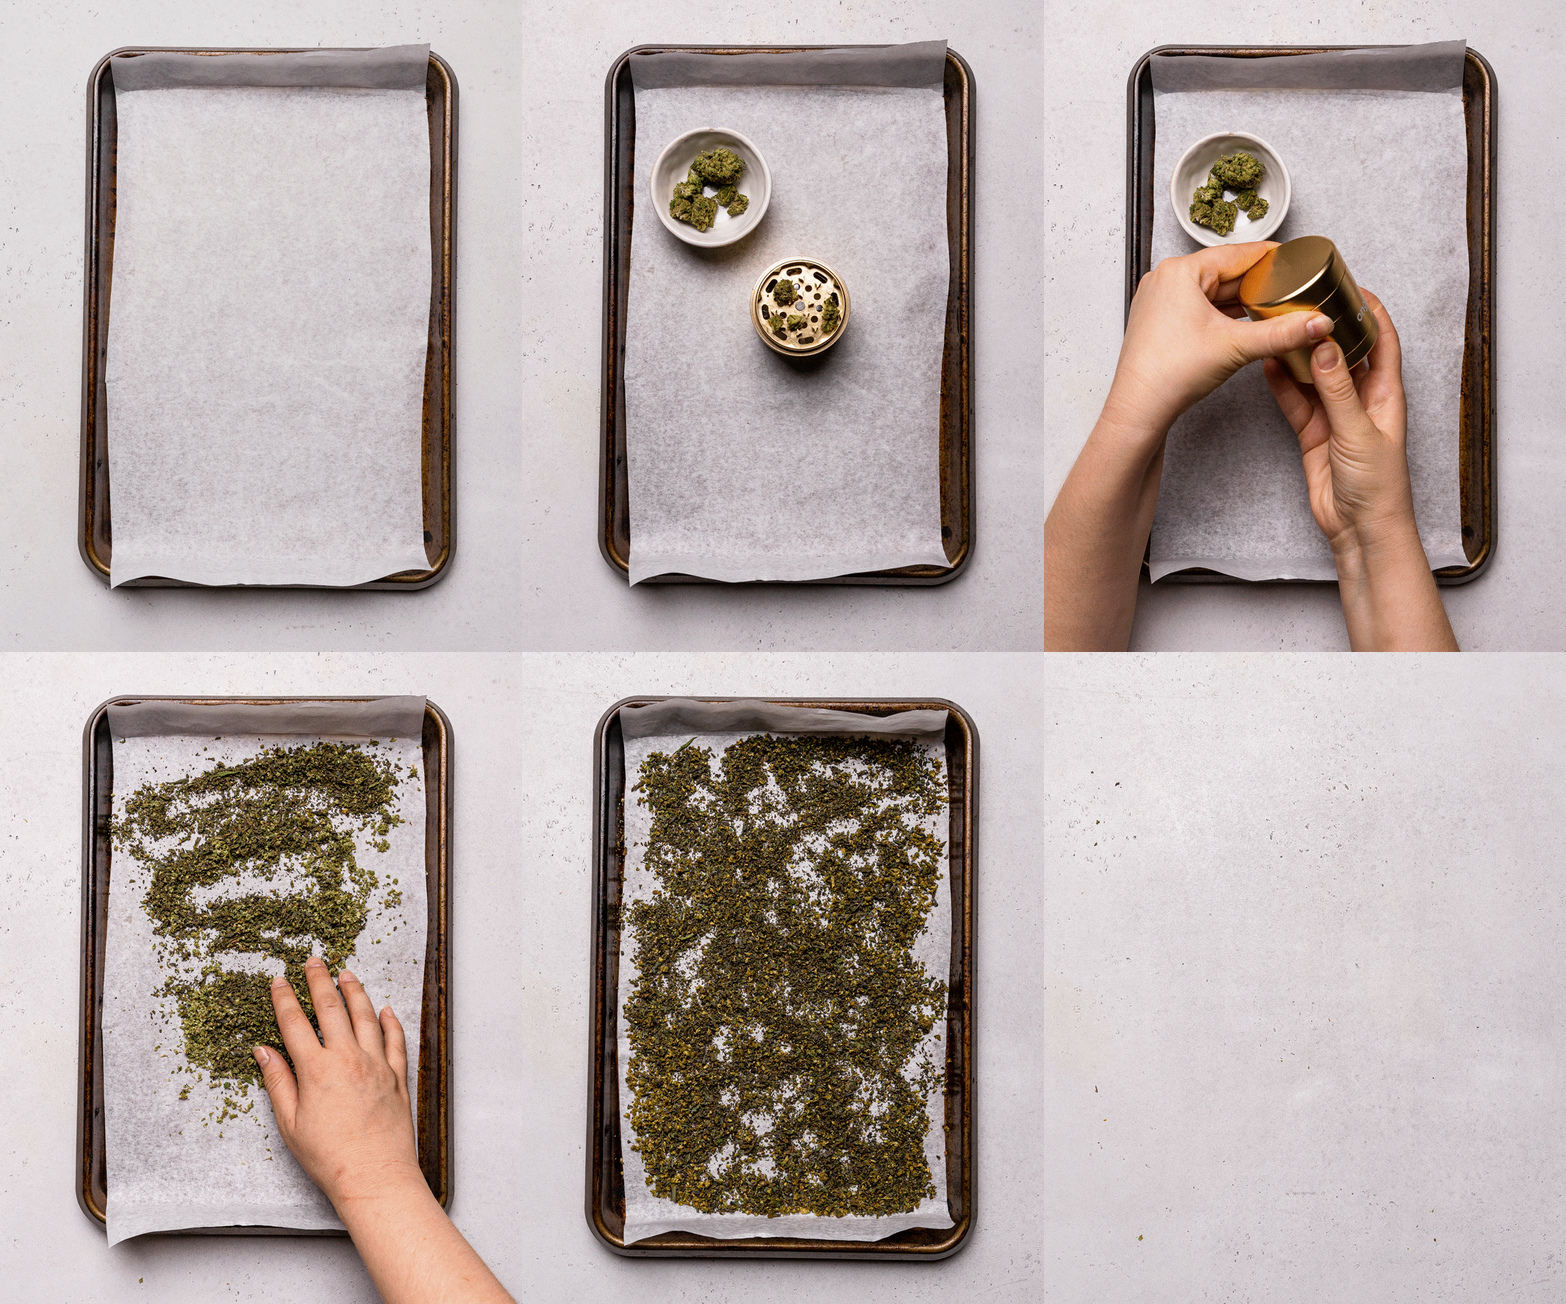
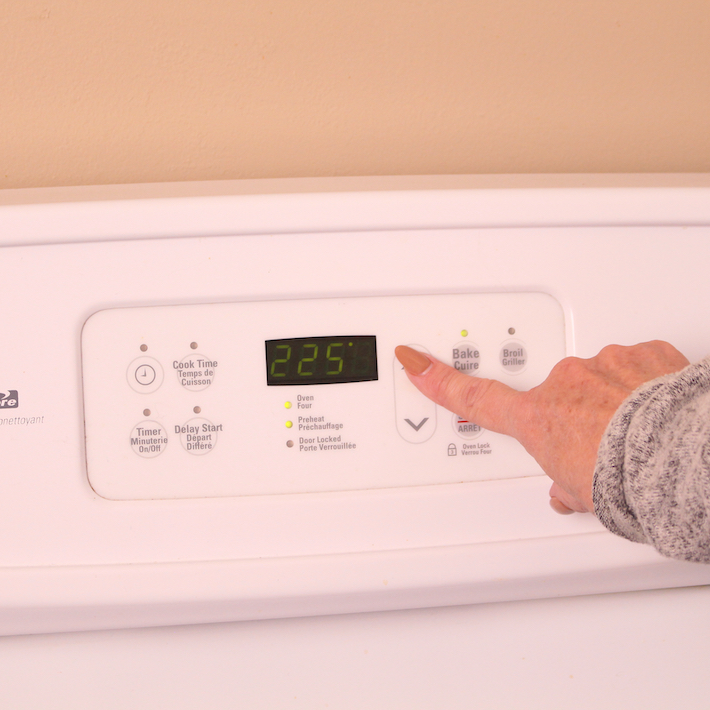
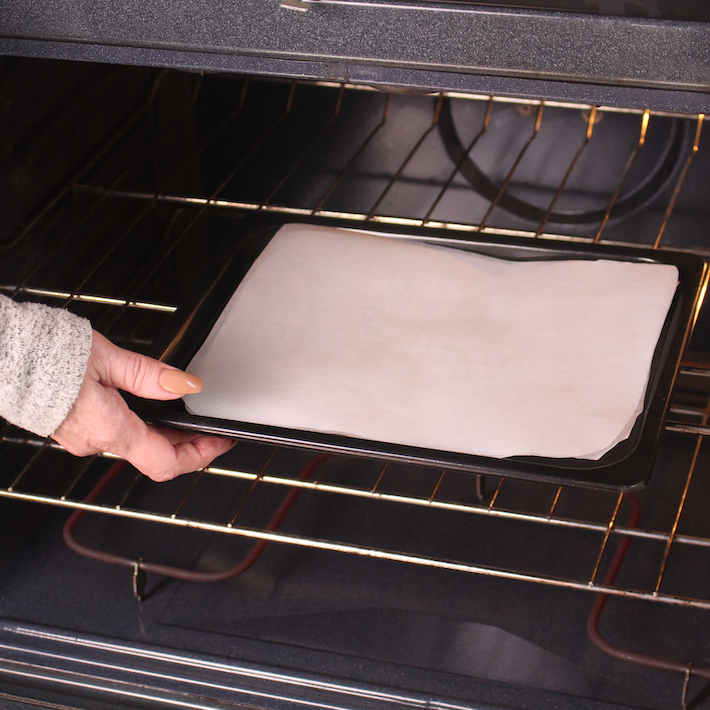
Pre-heat your oven to 225 °F (107 °C) and make sure there’s a spot in the middle of the oven for your tray. Oven temperatures are higher towards the top than the bottom, and you don’t want to stray too far from the set temperature for this method to work effectively.
- Prepare Your Surface
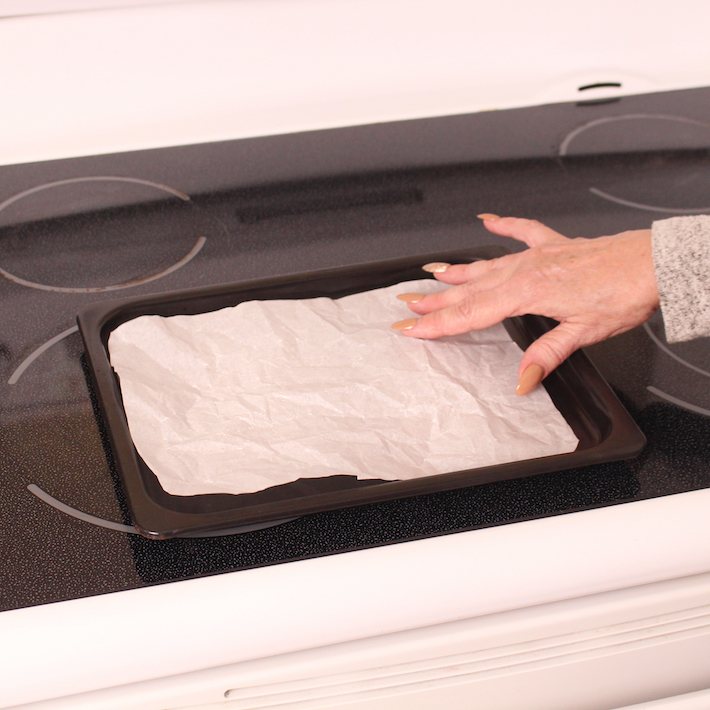
Put your baking tray out on a kitchen surface and grab your parchment paper or aluminum foil. Cut a matching-size piece of foil or take out a piece of parchment and slightly crumple it up before laying it on the tray. This might seem a little weird, but it helps guard against overheating because the tray itself gets very hot and this will minimize contact.
- Break Up (Or Grind) Your Weed
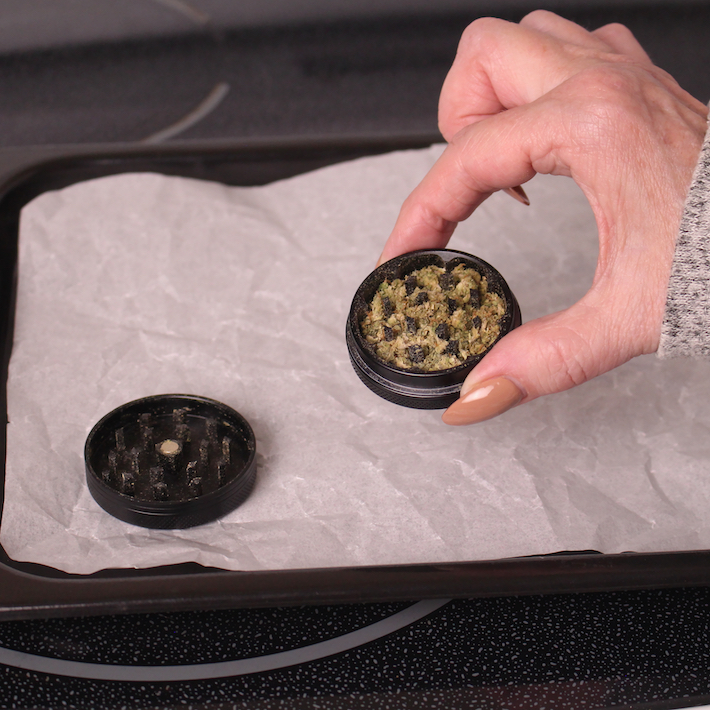
Some people in the cannabis community disagree about whether you should grind your weed or just lightly break it up here. The (potential) problem with grinding is that you could end up with too fine a finished product, which could mean you end up losing some of it and could potentially lead to it getting overheated. These risks aren’t exactly huge (so go for it if you like) but it’s probably wiser to just break it up fairly lightly, so the pieces are about the size of a grain of rice or a little bigger.
- Finish Preparation
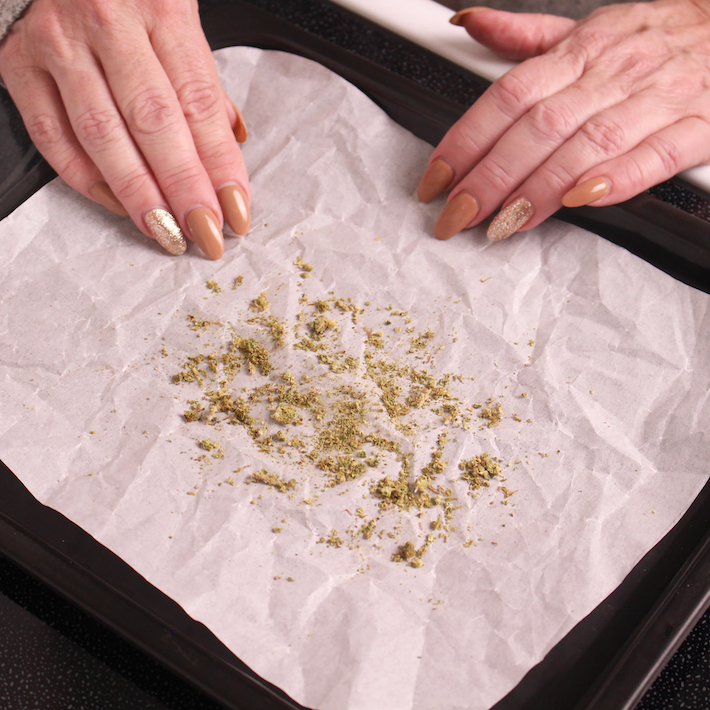
Lay your broken-up cannabis across the crumpled foil/parchment. You should aim to spread it evenly, but you don’t have to be too particular about it. As long as you don’t have a big pile somewhere you’re good. Now lay another piece of parchment or foil across the top, without crumpling this time.
- Bake it for 45 Minutes
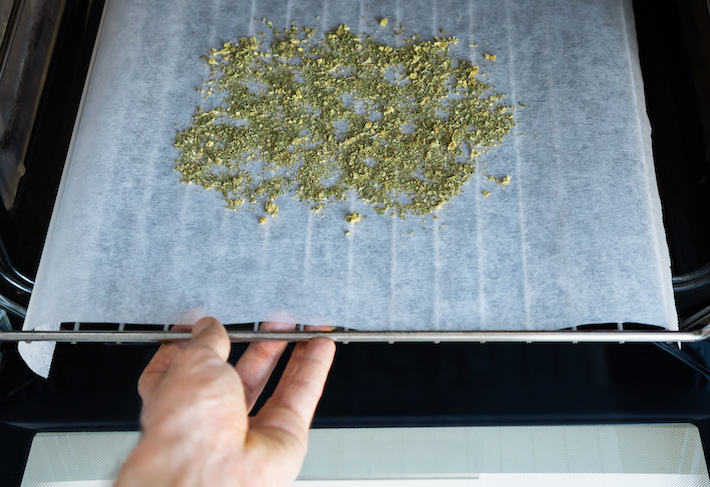
Put the tray into the center of the oven for 45 minutes. This is where the magic happens, but it’s also coincidentally when your work is basically done. Light one up if you like – but set yourself a timer!
- Take it Out and Let it Cool
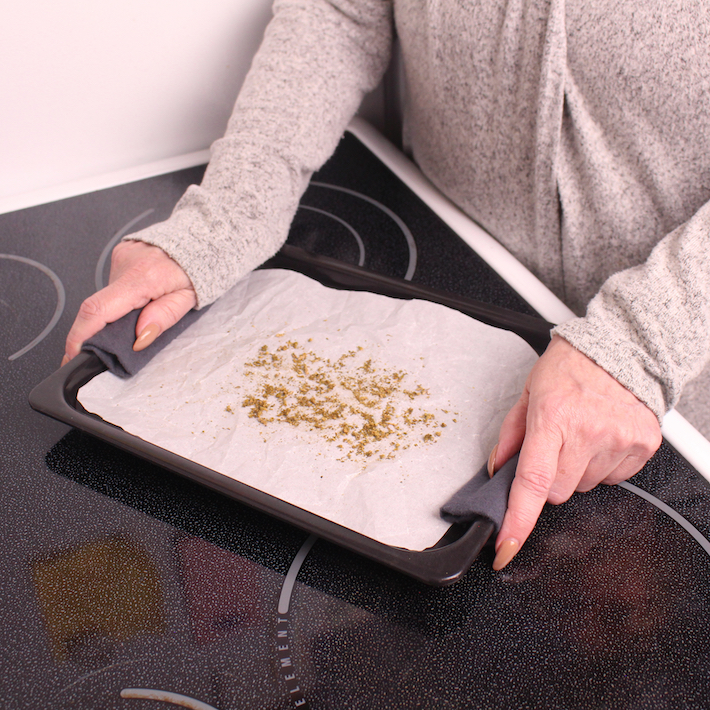
After 45 minutes, take your baking tray out of the oven and leave it somewhere to cool (at room temperature) for around 30 minutes. It should be slightly browned and toasted-looking. When you can pick it up comfortably, the job is done. You can either add it to something right away or store it for future use.
Alternative Methods: The Mason Jar
The main downside to the above approach is that it can really stink up your house. Using a mason jar is a pretty easy way to solve this issue while still maintaining the core of the other approach.
Essentially you do almost the same as above, but your broken-up bud goes in a mason jar instead, so you don’t need to worry about the parchment paper or foil. Make sure the mason jar has a lid, and lay it on a wet kitchen towel to keep it in place in the oven.
There are a couple of key differences. Firstly, temperature is a little more variable with this approach, and as long as your oven is set to between 220 °F (105 °C) and 240 °F (115 °C) you’re good. And secondly, you need to make sure you shake the jar every 15 minutes (wearing oven gloves – it will be very hot!), and cook for an hour instead. Again you let it cool for 30 minutes before using or storing.
Alternative Methods: Sous Vide
If you have an immersion circulator, you can also decarb your weed sous vide. This has quite a few advantages because you have very precise control over the temperature, so it gives you a lot of leeway with everything else.
As well as your circulator, you’ll need a container to put everything in (a plastic tub or a big pot is good), and either a vacuum sealer or a zip-top freezer bag.
Prepare your water bath – look at the instructions on the immersion circulator to make sure you get everything right – and set the temperature to 203 °F (95 °C). Finely grind up your cannabis (this is actually better when you can be this confident about the precise temperature) and either vacuum seal it or put it inside a zip-top bag. You want to maximize surface area, so spread it out well and minimize air pockets.
If you don’t have a vacuum sealer, you can achieve the same result with a zip-top bag. Spread the cannabis as much as you can, then close up the bag 80% of the way. Now, gently lower the bag into the water bath. The water will force the air out of the bag, and when the zip-line is just above the line of water, you can finish closing it up.
Let it sit in the water bath for 90 minutes. When it’s done, take it out and leave it to cool for around 20 minutes. After this, your weed is good to go!
Conclusion – Get Ready to Bake
Whichever method you used, now you’re ready to use your decarbed cannabis in whatever creation you have in mind. The best thing about decarbing cannabis is that once it’s prepared, you can basically just use your weed in whatever recipe you want afterwards, and it can be stored before use for essentially as long as you like. So whatever your intentions are going forward, now you can rest assured that your weed will work just as you want it to.
