
TL;DR | What you need | How to clean your grinder (5 easy steps) | People also ask
Weed grinders are an essential tool for any cannabis smoker, but over time they start to show signs of how much you use them. Whether it’s just some build-up around the corners or enough sticky resin has coated it to make it difficult to use, from time to time weed grinders need a little cleaning. However, the material that’s gunking up your grinder is probably pretty rich in cannabinoids, so you need to use the right approach to cleaning your grinder to ensure you don’t waste anything you could otherwise enjoy.
The process is pretty straightforward, but a few key steps ensure you get all of the material possible and it leaves your grinder basically as good as new.
TL;DR
- You’ll need some isopropyl alcohol, a zip-lock bag (or glass jar), some toothpicks, a stiff-bristled brush, a soft-bristled brush and a plate or bowl.
- Take your grinder apart and remove any debris you can (use the plate or bowl to catch it).
- Put it in the freezer for at least 30 minutes.
- Take it out and remove more debris with your toothpicks and soft brush.
- Soak the pieces in isopropyl alcohol (in your zip-lock bag or jar) for at least 20 minutes, mixing regularly.
- Remove them from the alcohol and scrub the grinder with a firm-bristled brush.
- Rinse the grinder and dry it before using again.
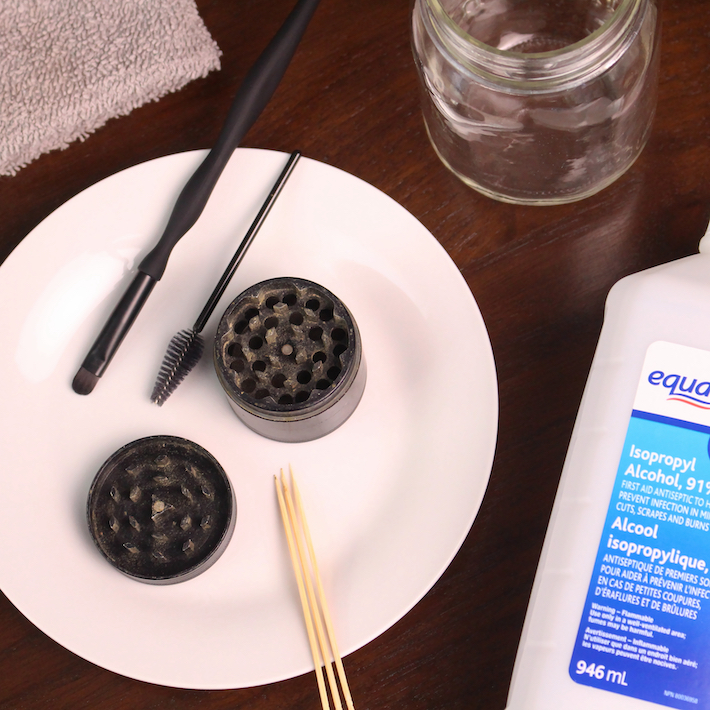
What You Need
You’ll need a few things to clean your weed grinder:
- A few toothpicks
- Freezer
- Isopropyl alcohol
- Toothbrush or other stiff-bristled brush
- Soft brush (e.g. a make-up brush)
- Zip-lock bag or glass jar
- Plate or bowl
- Towel
How to Clean Your Grinder (5 Steps)
So gather your equipment and your dirty weed grinder and let’s get on with cleaning.
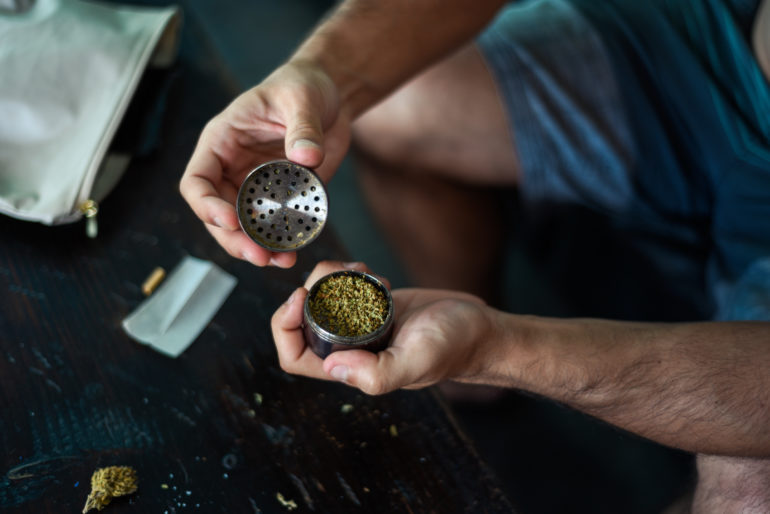
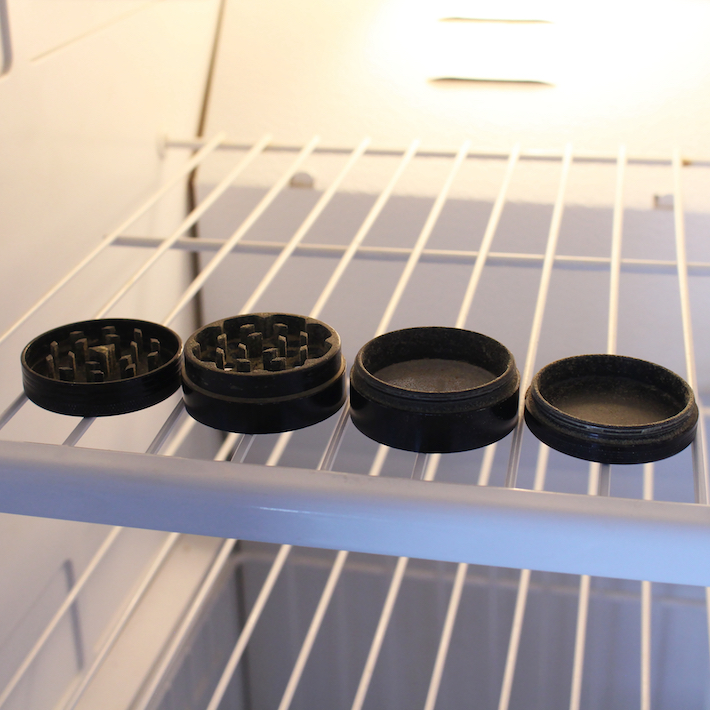
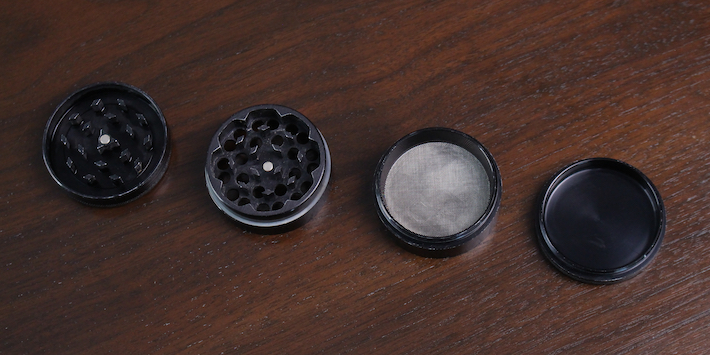
Step 1: Take Your Grinder Apart
- The first step is to disassemble your grinder. Most weed grinders these days have multiple sections, with two for the core function of the grinder, a lower section to catch the weed after it’s been ground up, and bottom section to catch the kief (the cannabinoid-rich trichomes).
- Take it all apart and remove any debris you can get off at this stage. You can use a toothpick or a brush to get as much out as possible, using your plate or bowl to catch anything you break loose.
- At this stage, the more gunked-on bits will likely stay where they are. The next (technically optional) step will help with that.
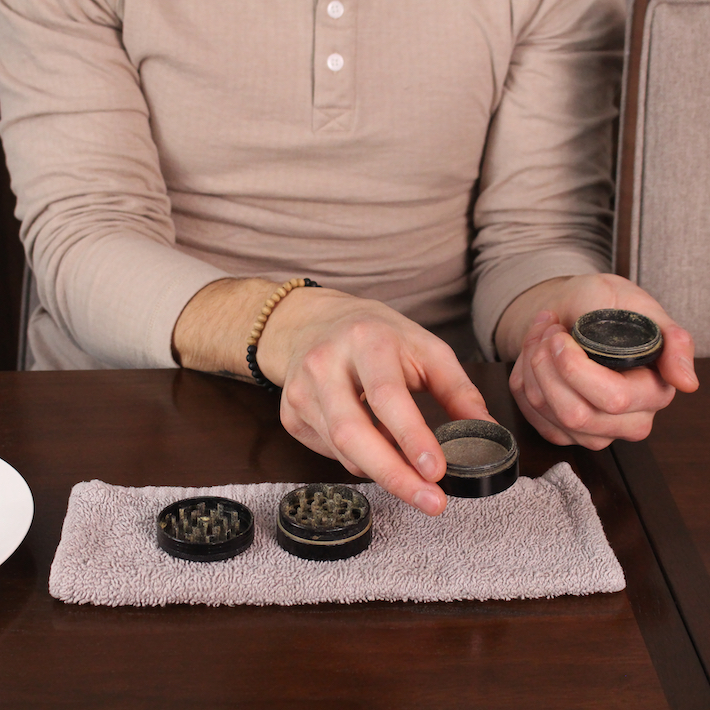
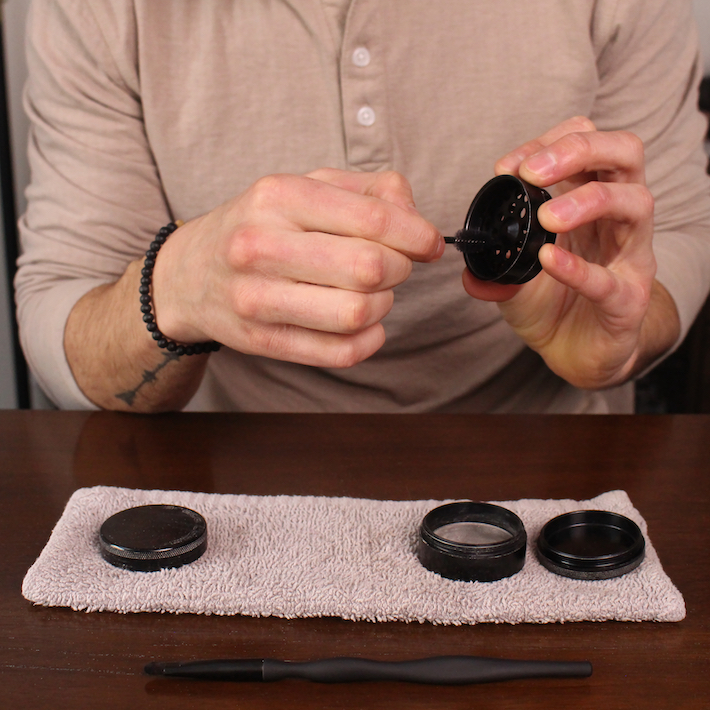
Step 2: Freeze the Grinder for 30 Minutes (for a Deep Clean)
- Put the pieces of your grinder in the freezer if you need a deeper clean. This is likely to be needed if some bits of weed are really caked onto the grinder.
- After 30 minutes (minimum) the plant matter will have begun to clump up and won’t stick to the grinder as much.
- Now you can take another shot with the toothpicks and the soft-bristled brush. The most stubborn build-up is often around the edges of the chambers, and toothpicks will be invaluable here. Collect everything you can in your bowl or plate before moving to the next stage.
Step 3: Soak the Pieces in Alcohol
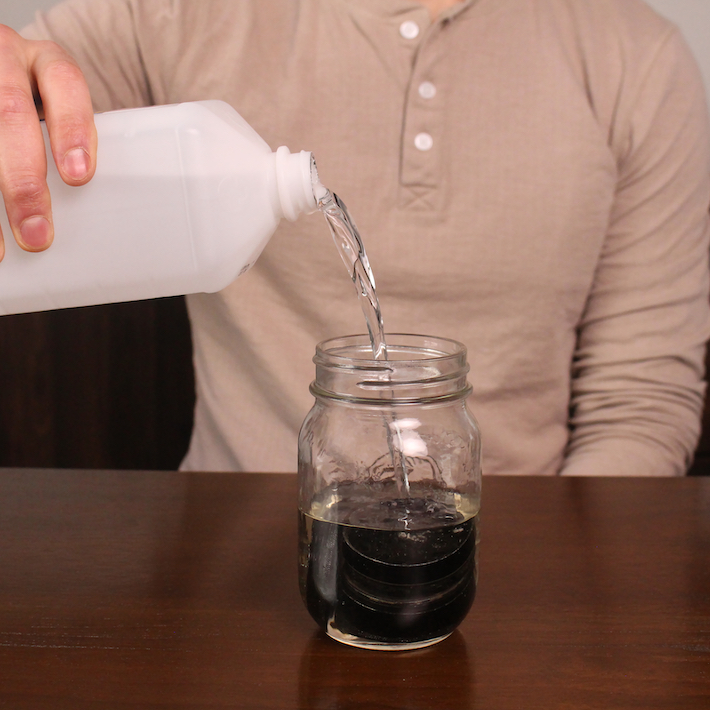
- The bulk of the cleaning actually comes from the isopropyl alcohol. Collect the pieces of your grinder and put them all into either a zip-lock bag or a jar, and then fill it with isopropyl alcohol, at least so all the pieces are fully submerged.
- Leave this where it is for at least 20 minutes, swirling it around every so often to help clear off any stubborn bits.
- Note that if your grinder is acrylic or plastic, isopropyl alcohol will damage it and this step should be replaced with a soak in warm water. You can also add dish soap in the next stage to make sure it’s good and clean.
Step 4: Scrub the Grinder
- Drain off the alcohol. You can store this somewhere if you want to re-use it (it probably won’t be too dirty), but it’s done the job now.
- Now grab your toothbrush or other stiff-bristled brush and get to work on the pieces. There are probably some especially stubborn bits that none of the previous steps got through, so this is the time to put in some harder work and get your weed grinder fully clean.
- Pay special attention to the corners, and if you’ve been getting some sticking when you try to rotate the grinder, make sure you scrub the inside and outsides of the walls.
- A toothbrush is also perfect for getting the spaces between the grinder’s teeth.
Step 5: Give it a Final Rinse
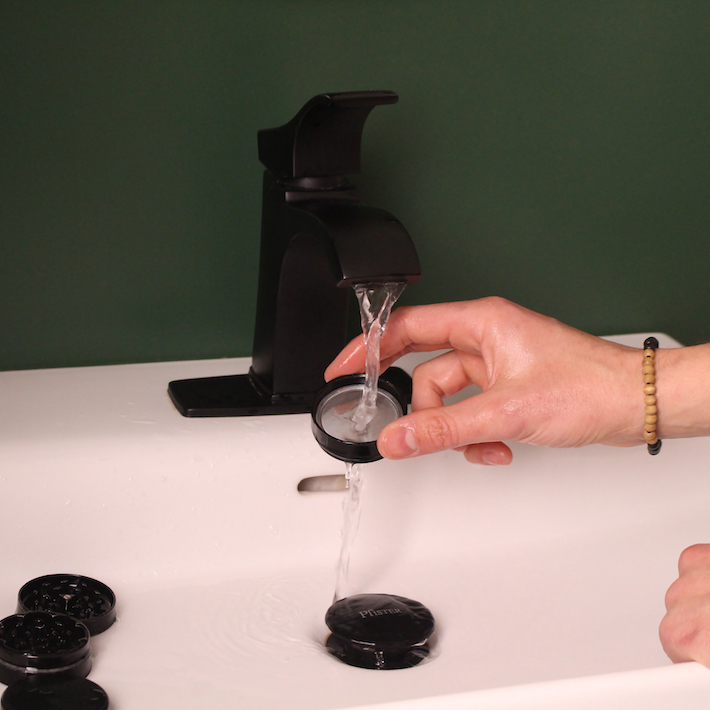
- Finally, rinse your grinder in warm water, making sure you cover every part to remove any residual alcohol or last bits of debris.
- All you have to do now is leave the grinder to dry or physically dry it with a towel and you’re good to go. Make sure you cover the spaces between the teeth and rub all of the corners – you don’t want to start grinding again if it’s still a little wet.
People Also Ask
How Can I Get Kief Out of My Weed Grinder?
Even if you have a weed grinder with a dedicated kief catcher, it’s likely that a lot of it will still get stuck to the inside of the main compartments. This is especially true for the chamber that collects your weed. There is a simple method for getting the most kief out of your grinder as possible.
First, harvest whatever you can using standard methods. You can use the little scooper that comes with many grinders or anything you have that’s small enough, like a toothpick or a straightened-out paperclip. The aim is mainly to get the kief off the sides of the chamber. Then, find a small coin (a dime is best since it will fit but doesn’t have the copper smell, or a 10 Euro cent does well for the same reasons), and place it into the main, weed-catching chamber of your grinder.
Close it up and place your grinder in the freezer overnight. The cold makes the trichomes (the technical term for kief) more brittle and makes them easier to separate from the grinder. When you wake up, you can grab your grinder from the freezer and give it a thorough shake. Really shake it, rattling the coin around like you’re shaking a maraca. This loosens up all the kief and will hopefully give you a good collection in the kief-catching segment of the grinder.
If your weed grinder doesn’t have a kief catcher, this will be much more difficult. However, freezing first still helps and you can get at whatever is reachable with a toothpick or something similar.
How Can I Clean a Grinder and Save Kief?
The approach given in the main post with the detail from the previous question works perfectly here. Go through the cleaning process as usual, except add your coin to the weed-catching segment of the grinder before freezing. Give it a good shake when you remove it from the freezer and you’re good to go.
How Can I Clean a Grinder Screen?
Your grinder screen picks up a lot of kief and other residue in the course of its normal duties. Even if it does an effective job of catching your ground cannabis but allowing the majority of your kief to fall through to the lowest level, there will always be bits and pieces that end up stuck to the screen. Luckily, you can get this off in much the same way as cleaning kief out of your grinder in general.
The key step is leaving your weed grinder in the freezer for at least 20 minutes. This freezes the kief and makes it more brittle and easy to remove. When you take the grinder out of the freezer, just give it a few firm smacks on a hard surface. This should free up the majority of the kief, and hopefully you’ll be able to recover and use most of it too. Alternatively (or if this doesn’t work), you can clean it with isopropyl alcohol, go at it with a stiff-bristled brush or a combination of the two.
How Should I Clean a Metal Grinder?
A metal grinder is arguably the most efficient form of grinder, and the approach listed above works perfectly for them. It’s resistant to isopropyl alcohol so combining this with some time in the freezer is ideal.
Can You Boil Your Grinder to Clean it?
You can boil your grinder to clean it, although the isopropyl alcohol method is generally considered the most efficient. If you don’t have any or just would prefer not to use it, you can easily boil your grinder to loosen up some of the debris and left-overs.
Disassemble the grinder – making sure to clear out anything you can – and then put the pieces in a pot of water. Bring the pot to the boil, keeping an eye on it so you can stop it as soon as it reaches a light boil. When you notice the bubbling, remove the pot from the heat and leave it to sit for 10 minutes. After this, you can clean it with a stiff-bristled brush and leave it to dry.
Can You Use Vinegar to Clean a Grinder?
You can clean a grinder with vinegar, although it’s less ideal than the isopropyl alcohol method. You can do this with metal grinders, but it still isn’t ideal for plastic grinders.
Simply mix a few tablespoons of white vinegar with a glass of water, and use this as a cleaning mix for your grinder. With a combination of this and a stiff-bristled brush (like a toothbrush), you’ll end up with a very clean grinder. You can use pure vinegar, but this is generally not needed and may damage some grinders (depending on the material). You can also combine this with the freezer step for a better result.
How Can I Clean a Plastic Grinder?
You can clean a plastic or acrylic weed grinder using basically the same process as described above, without the isopropyl alcohol, which can break down the material of the grinder. Start by clearing any loose debris out of the grinder, then place it in the freezer for at least 30 minutes, then try to remove more debris. After you’ve gone to work with a stiff-bristled brush, toothpick or similar, you can soak it in warm water for 20 minutes, then clean it thoroughly with warm water and dish soap. Let it dry and you’re good to go.
Time to Grind Again
Your weed grinder should be pretty much as good as new at this point, and you can start using it as normal again. Unfortunately, build-up and dirt like this is basically unavoidable, but this process is simple enough that you’re unlikely to even need to look it up again in future. And if you stay on top of cleaning your grinder in future, you can probably skip the freezer stage and save yourself some time. So enjoy the clean, smooth, good-as-new grinding until the time rolls around again.