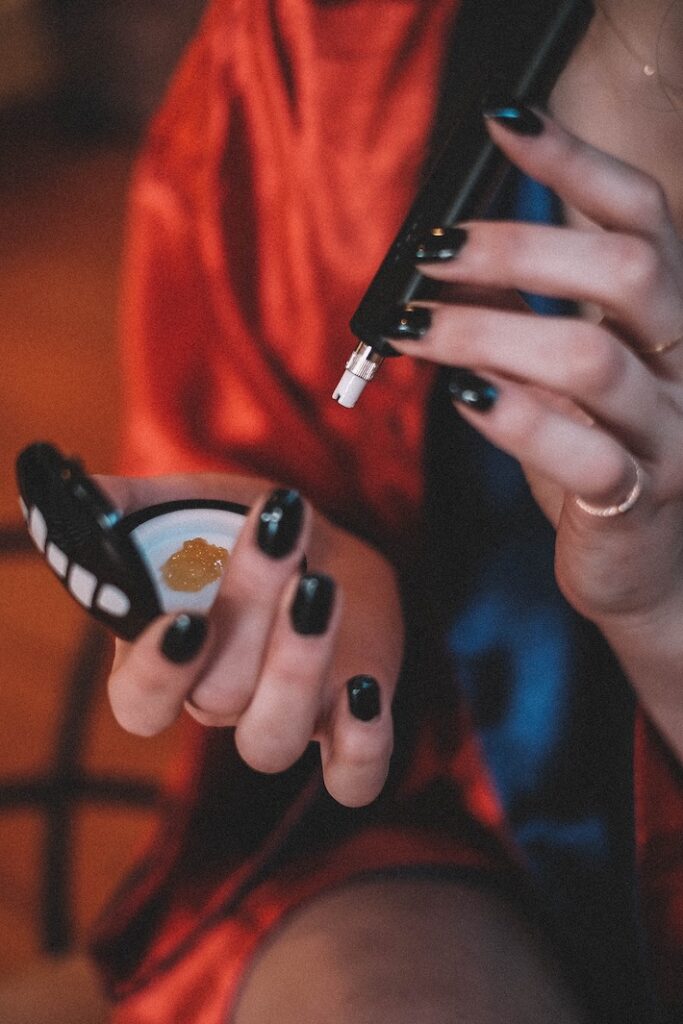
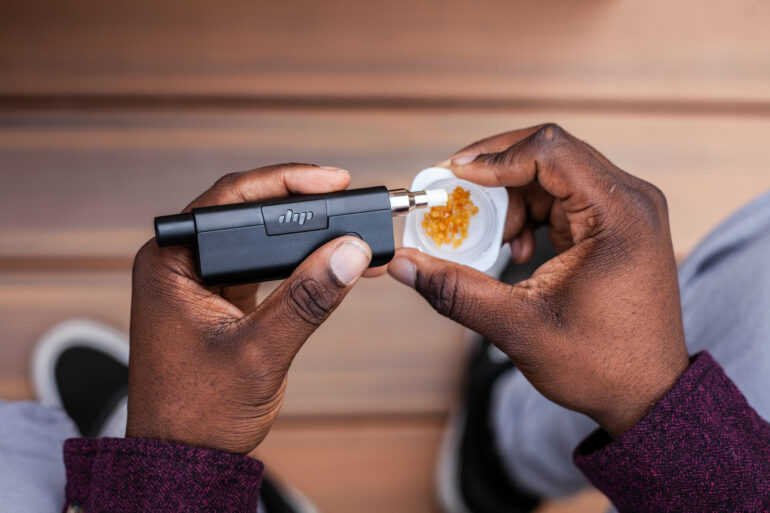
A nectar collector is otherwise known as a dab straw, which describes its function much more clearly: you heat the tip and “suck up” the smoke after heating the tip of the collector. It’s like drinking up the smoke through a straw, but you’re actually taking a dab. One of the many advantages is that this makes nectar collectors much more portable than a dab rig, but it also makes it less awkward to clean. If you’ve cleaned a dab rig, bong, pipe or pretty much any cannabis gear before, you’ll be right at home with the isopropyl alcohol and salt cleaning method. If you haven’t, it’s really important to learn.
What You Need
You’ll need a few key components to get started with cleaning your nectar collector. Most of these are everyday household items, but you may need to pick some things up, so it’s worth checking before getting started.
- Isopropyl alcohol (over 90% for the best results)
- Coarse salt (e.g. sea salt or kosher salt)
- Pipe cleaners
- Q-tips
- Resealable bags or plastic containers
- Access to running water
- Your dab torch (if you have a titanium tip)
This is an ideal list if you’re looking for how to clean a glass nectar collector or silicone, but if you have a titanium tip, you shouldn’t use isopropyl alcohol with it. The best approach in this case is to have your dab torch on hand for an alternative (slightly more hands-on) approach.
How to Clean a Nectar Collector: Glass and Silicone (6 Steps)
Time needed: 15 minutes
- Disassemble the Collector
The first step is to simply take your nectar collector apart. This is usually very easy to do, and most nectar collectors simply have a tip and the main body. However, it’s important to separate them for two reasons: it helps the cleaning solution make its way to every section, and it drastically reduces the risk of anything getting broken. This is even more important if your nectar collector has several pieces.
- Create the Cleaning Solution
Get your resealable bags or containers ready – you’ll ideally need one for each piece – along with the isopropyl alcohol and salt. Add enough isopropyl to each container so that the liquid will cover the piece when you add it. Then, add a tablespoon (ish) of salt to each container, close up and mix the solution thoroughly. The salt is important because it gives the solution an abrasive quality and helps the alcohol break down any residue left on your dab straw.
- Add the Pieces and Soak
Add your nectar collector’s components to the containers, keeping one per bag. It’s important to remember that you shouldn’t soak titanium tips in isopropyl alcohol. This can damage the outer coating and lead to oxidation, so you’ll need to use an alternate approach (see below) to clean titanium tips. Some sources recommend pouring some salt directly into the holes on the components of your nectar collector, but this is often unnecessary. However, if your nectar collector is very dirty, this is a worthwhile extra step. Close up your containers and leave everything to soak for around 30 minutes to an hour. However, you can leave it soaking longer (overnight is good) if you think it will need the extra cleaning time.
- Rinse and Spot Clean with a Q-Tip
Once your nectar collector has been allowed to sit in the solution for over half an hour, you can take the pieces out and rinse them under some warm water. Rinsing is a crucial part of the process because it’s very important to avoid inhaling any residual alcohol fumes. When the most obvious residue has been rinsed away, you can take a look at what you have left to deal with. Often, most of the caked-on resin will have been washed away with the solution, but there may be some bits leftover. These are usually easy to remove with a Q-tip, because the soak should have loosened them up substantially. Go over the pieces by hand and get up any loose residue you can. You can also soak the end of the q-tip in the cleaning solution to give it a bit of extra power.
- Use a Pipe Cleaner if Necessary
If the previous step wasn’t enough to get up the residue, you can try with a pipe cleaner. These tend to have strong bristles and are thin and flexible enough to get into most hard-to-reach spots in your nectar collector. You need to be careful to avoid hitting the sides of your collector with the metal of the pipe cleaner, but as long as you don’t really scrape along the sides, you won’t do any damage. You can also twist or fold the pipe cleaner to make it wider if needed for some sections.
- Rinse Again and Leave to Dry
Finally, rinse your nectar collector under warm water again. It’s best to do this continuously for a few minutes to ensure there is absolutely no residue. When you’ve done this, leave the pieces to air-dry before reassembling your nectar collector.
A Note on Different Materials
The above approach is valid if you’re looking for how to clean a glass nectar collector or how to clean a silicone nectar collector, but if you have a titanium tip you can’t use alcohol. Instead, you should clean the rest of the collector as described above, but use a different approach for the tip. Get the torch you use for dabbing and heat the tip with it. This should get any caked-on residue into a liquid form, and when the tip is cooled slightly, you can remove the residue with a q-tip.
It’s also possible to simply boil a titanium tip in a pot of water to get up most of the residue, with a final q-tip clean afterwards as needed.
If you have a silicone dab straw, although you can use the approach above, you have an extra option. Remove the tip and leave the rest of the collector in the freezer for around four to six hours (or even overnight). Once your nectar collector is frozen, squeeze the silicone. Because it’s frozen, the caked-on residue will be separated from the collector easily.
How to Get Reclaim Out of a Nectar Collector
After a few uses, your nectar collector will inevitably have some “reclaim.” As the name suggests, this is residual concentrate that you can re-claim out of the collector. It’s usually a darker, brownish color (compared to the amber of most concentrates), and contains between 30 and 60% THC. However, it also has more CBN than average, which makes it more likely to make you drowsy.
You can retrieve your reclaim pretty easily, and it’s easy to do this alongside your regular cleaning. You’ll need your isopropyl alcohol, some paper towels and a Pyrex dish. Cover one end of your collector with a paper towel, and fill the tube with isopropyl. Cover the other end with a paper towel, and hold it so both ends are covered and the alcohol is inside your collector. Now shake it to bring up any reclaim from the sides.
The result should be a mixture of your isopropyl alcohol and the reclaim. Empty this all out into your Pyrex dish. Place the dish on a hot plate at the lowest temperature setting you can (remember not to use open flame, because alcohol is flammable) and let the alcohol evaporate away. Leave the dish to sit for a day or two and air-dry. Once this is done, scrape up the reclaim using a razor blade, spatula or similar tool and use it however you want – although most just smoke it.
For silicone nectar collectors, you can use the freezing method described in the previous section to get your reclaim.
Do You Really Need to Clean Your Nectar Collector?

Although it might seem like a very simple piece of gear, it’s important to clean your dab straw or nectar collector for several reasons. Firstly, and most importantly, after time, a dirty nectar collector could develop mold or accumulate bacteria. However, it’s more realistic that a dirty nectar collector will experience issues like blockages or a reduction in flavor, ruining the performance until it’s clean again.
How Often Should You Clean Your Nectar Collector?
There are many differing opinions on how often to clean your nectar collector, and to some extent it does depend on how often you use it and how serious about cleaning you are. As a general rule, it’s good to give your nectar collector or dab straw a thorough clean as described above once every month or two, at least. Other sources say at least every three months is OK. But if you clean your nectar collector very regularly (for instance, once per week or two), you can often just use hot water and dish soap to soak it and still get excellent results.
Conclusion – Cleaning is Easiest if You Do it a Lot
As with bongs, dab rigs, pipes and most other pieces of cannabis gear, it’s better to clean regularly and put less work in each time than to wait three months for a huge clean. The more you clean, the easier each time will be, and more importantly, the more you’ll have a consistently clean dab straw. It might seem a little excessive to clean once a week, but it’s easy to incorporate into your schedule and a great idea if you dab regularly, especially if you’re not consuming alone.
Related Tutorials
- How to Clean a Bubbler
- How to Clean One Hitter Pipes
- How to Clean a Dab Rig Without Alcohol
- How to Clean Marijuana Smoking Pipes
- How to Clean Herb Grinders
- The Best Way to Clean a Bong Without Alcohol
- How to Roll a Joint Without a Filter
- What is a Backwoods Blunt?
- The Easiest Way to Roll a Weed Blunt
