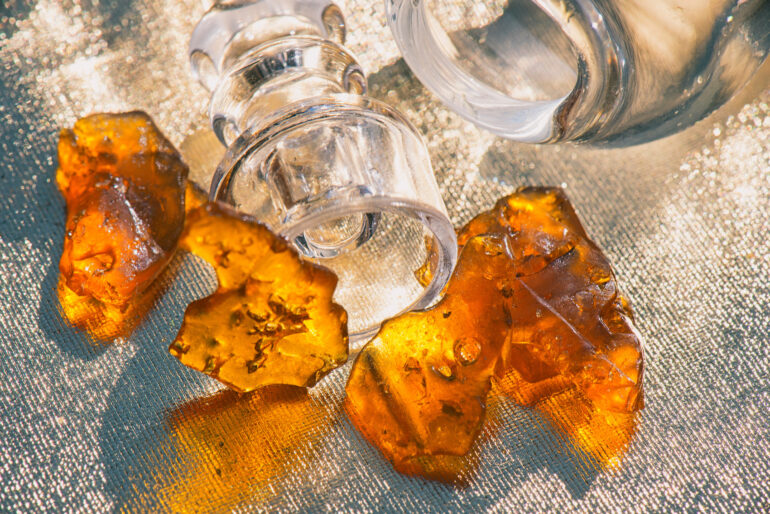
Keeping your dab rig clean is more important than you think. First off, a clean rig produces better hits with more well-defined flavors. Secondly, and more importantly, old rig water can be a breeding-ground for fungi and bacteria, so keeping your rig clean is crucial for staying safe too. Plus, who wants to invite someone in for a dab and have to pull out a gunky old rig to use? Luckily, keeping your rig clean is a pretty easy process, and the more you do it, the less work it will be each time. So here’s how to clean a dab rig.
What You Need
You’ll need a few things to get started cleaning your rig:
- The torch you use to heat your nail
- 99% isopropyl alcohol (i.e. rubbing alcohol)
- Coarse salt
- Large sealable bag or container
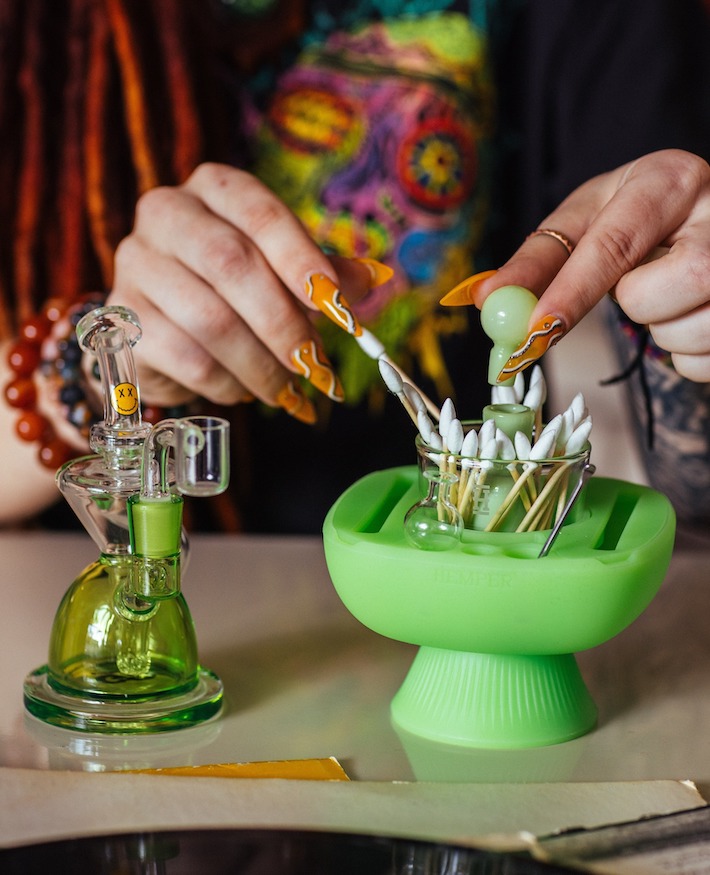
- Cotton swabs
If you don’t have – or don’t want to use – alcohol, there is an alternative method we’ll discuss below the main one. You can also do without the torch, but it’s really useful if your nail isn’t too dirty and will save you a bit of work.
How to Clean a Dab Rig (6 Steps)
Time needed: 10 minutes
- Torch Your Nail
The simplest way to clean your nail if it isn’t too dirty is to simply torch it with your usual dab torch. For a small amount of build-up, this will clean it so it’s ready to go again. You can also soak a cotton swab in alcohol and use this to get to any stubborn bits.
- Soak Your Nail (if Step 1 Isn’t Enough)
If your nail is too dirty to clean up using the torch method above, you can do something very similar to what we’ll do with the rig. Place the nail inside your sealable bag or container, cover it in alcohol and let it soak. You can also add a little bit of salt to the bag, close it and shake it all up together.
- Prepare Your Rig
Before we start the cleaning process for the bulk of your rig, you should empty out any old rig water in there. You should really do this every day, because the old water is the main breeding-ground for the bacteria and fungi we want to avoid. But regardless, pour any water currently in your rig down the drain. You should also remove any small pieces like your nail or carb cap if you haven’t already.
- Create Your Cleaning Mix
You can do this separately in another container and then add it to your rig, but the simplest way is just to make it inside the rig itself. First, add enough coarse salt to your rig to cover the bottom of the base. Now add isopropyl alcohol so it fills the base. The alcohol does the majority of the work, but the salt will add some abrasion to your cleaning mix and help you get up any really tough stains.
- Cover and Shake
Cover the openings of your rig with your hands (or with caps/plugs if you have some that fit) and give the whole thing a shake. This allows the cleaning solution to reach every part of the rig, and moves the salt around in the process to help loosen up any difficult patches.
- Rinse Thoroughly
Finally, empty the cleaning solution, pouring it quickly so nothing gets caught up on the way. Then give your rig a thorough rinse with warm water. The main aim is to remove any remnants of the cleaning material, but this also gives you a chance to rinse away any debris that’s been loosened but not cleared. You should also rinse your nail if you had to use the alcohol method to get it clean.
People Also Ask
What if I Don’t Want to Use Alcohol? How to Clean Your Dab Rig Without Alcohol
Whether you just want to avoid using alcohol because you’d rather not risk the residue or whether you have a silicone rig (which the alcohol could damage), there is a method you can use. The method is basically the same as the above, but instead of alcohol you simply use hot water. This can be done in combination with dish soap, but really the water and salt will get the job done well. If the water is very hot, make sure to protect your hands or (even better) cover the holes with plugs or something else before you shake.
You can also use the steam from a boiling pot of water or kettle to kick-start the process. This likely won’t be enough for the whole rig, but it’s a good way to get started and the steam will loosen up a lot of the debris.
How to Clean a Dab Nail
You can clean a dab nail in a couple of different ways. The easiest is suitable if you don’t have much build-up on your nail: just torch it clean. If some bits don’t come up from the flame, you can soak a cotton swab in isopropyl alcohol and scrub at the more stubborn parts. If neither of these approaches work, you can put it in a zip-lock bag, cover it in isopropyl alcohol and add a small amount of coarse salt before giving it a firm shake. Then rinse it clean and you’re good to go.
How to Clean a Dab Bowl
Dab rigs don’t usually have “bowls” like a bong, since the purpose is to take dabs and bowls don’t work for that (this is what your nail is for). However, if you have a dab rig with a bowl attachment so you can hit it like a bong, then you can clean the bowl in basically the same way as a nail. Simply put the bowl in a container with some isopropyl alcohol and salt, then close it up and give it a thorough shake. Then drain the alcohol mixture and rinse the bowl thoroughly. If there is built-up gunk around the inside of the bowl, a pipe cleaner can really help you give it a good scrub.
Conclusion
Learning to clean your dab rig is good for your rig, but the overall technique is more useful than you might think. Want to clean a bong? The process is essentially identical. And the same goes for pipes, too. The take-away message is simple: you can clean up most of your cannabis accessories using this mixture of isopropyl alcohol and coarse salt, and you need to do it. Luckily, the process is super-easy and takes around 10 minutes, plus – as mentioned in the introduction – if you stay on top of your cleaning, it will be even easier each time.