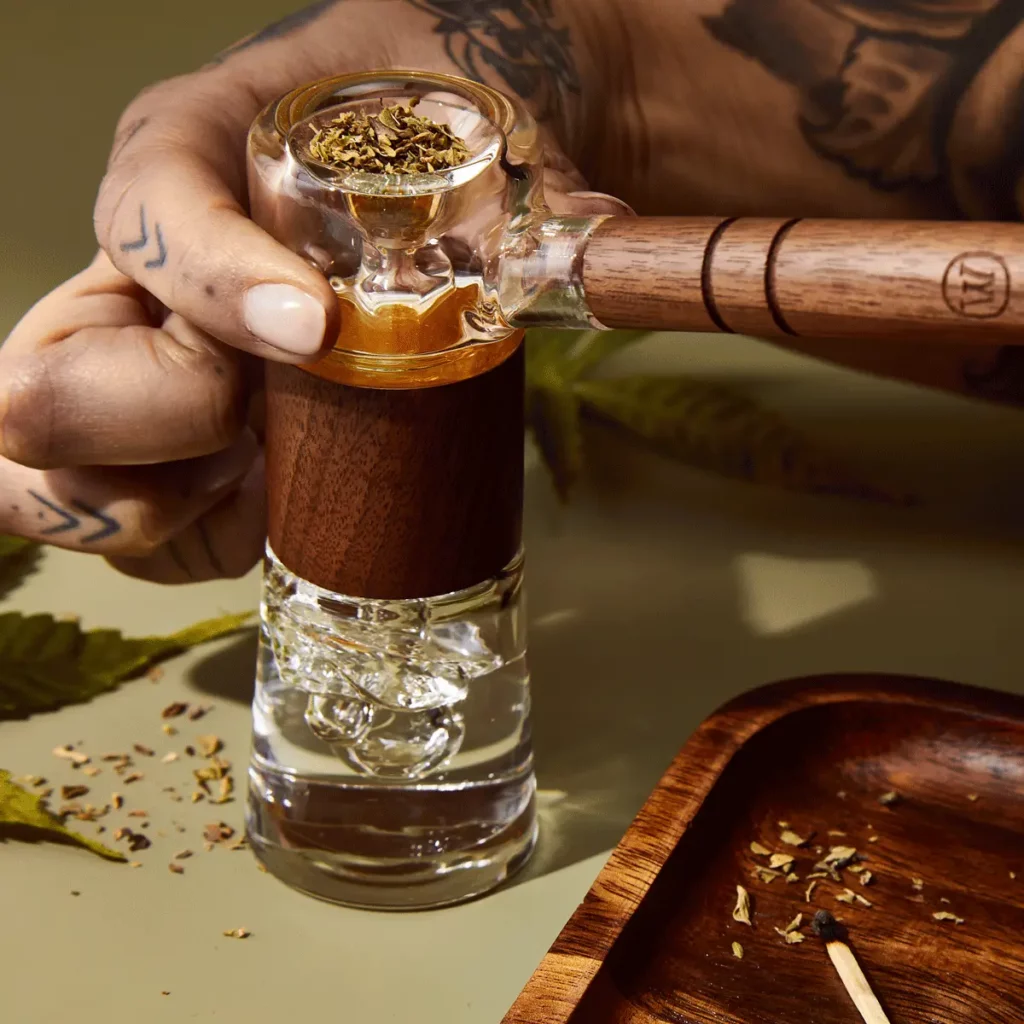
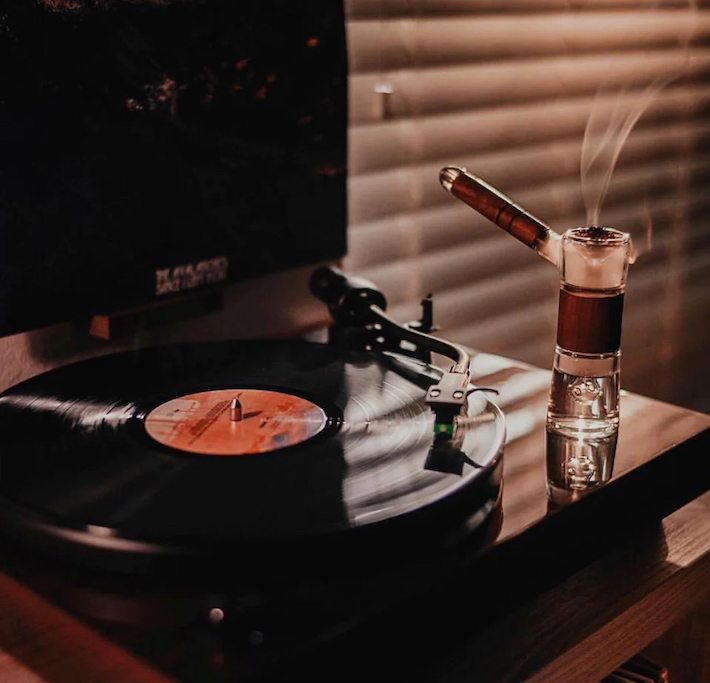
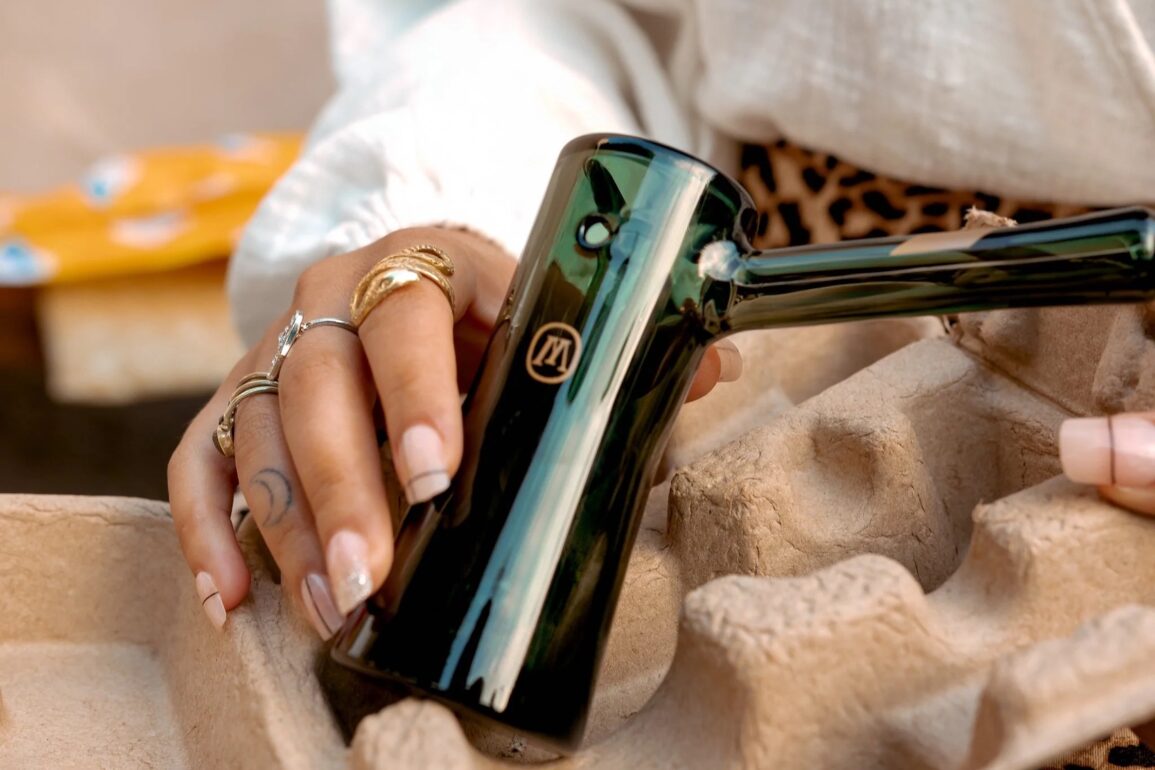
Keeping your bubbler clean is about more than just aesthetics. Since you fill them up with water – and old bong water is pretty nasty at the best of times – although keeping it clean will improve flavor and performance, it also keeps you safe. Bubblers are basically mini handheld bongs, so it shouldn’t come as much of a surprise that you clean them in essentially the same way as you clean a bong. If you’re familiar with this process, you’ll be right at home cleaning your bubbler. If not, it’s easy to learn and more important than you might think.
Why Should You Clean a Bubbler?

Cleaning your bubbler regularly is very important. They have the basic functionality of bongs, but they’re smaller, and as a result often have narrower pipes and may have complex designs that make cleaning difficult.
The most important reason to keep your bubbler clean is to protect against bacterial growth and mold. Particularly if some water has condensed and pooled in a difficult-to-reach place, the moist, warm environment is perfect for bacterial and mold growth. While it’s not especially likely that this would give you an infection or other issues, it’s certainly possible, and so staying safe is a key reason you should clean your bubbler (or bong, for the same reasons).
Dwindling performance is also a factor. If your bubbler has a lot of build-up, it could affect the path of the smoke and will almost certainly lead to a less “clean” flavor overall. Even if you’re only smoking alone, it’s better to do so from a clean bubbler to get the best performance.
What You Need
Before you get started cleaning your bubbler, it’s a good idea to gather some key supplies.
- Isopropyl alcohol (91 to 99% recommended)
- Coarse salt (sea salt, kosher salt or similar)
- A zip-top bag or large sealable container (this needs to be big enough for your bubbler, plus extras if needed for separate bowl pieces)
- Pipe cleaner, cotton swabs or similar
- Paper towels
There are alternatives to using isopropyl alcohol and salt, which we’ll cover later. And if you can’t find something like paper towels or cotton swabs, you can probably work around it, but the first three items (or viable alternatives) are necessary.
How to Clean a Bubbler (7 Steps)
Time needed: 10 minutes
- Empty and Flush the Bubbler
If there’s any old water in your bubbler, pour it down the drain and then rinse the piece thoroughly with warm water. This might not do much cleaning of the really caked-on stuff, but it will clear out any loose residue and the heat will start to loosen some gunk too.
- Disassemble Your Bubbler and Add it to a Container
If your bubbler has a removable bowl or any other piece, remove it so that everything is totally separated. We’re going to be shaking the pieces in a cleaning solution so it’s important they don’t smash together. You’ll need to grab your zip-lock bag or re-sealable container, open it up and put your bubbler inside. If you have any other pieces, you should add them to separate containers.
- Make Your Solution
Add around ¼ of a cup (about 70 g) of salt to the bag (with your bubbler), and then pour in around 16 ounces (470 ml) of isopropyl alcohol. Give the bag a shake for around a minute to mix all the ingredients and make sure it works through the whole bubbler. If you have other pieces – or are low on alcohol – you really only need enough to submerge the glass. However, remember, you can actually re-use the alcohol if you have a safe place to store it.
- Leave to Soak, Shaking Occasionally
Now you can mainly just let the cleaning solution do the work. Leave the bag somewhere upright, so your bubbler is completely submerged throughout. Every hour, shake the bag again to agitate the mixture and help clear debris. Do the same for any other components too.
- Remove the Bubbler
After 4 to 5 hours, you can remove the bubbler from the bag, after giving it a final shake. You can zip up the bag and store it somewhere, or simply toss the mixture away. Repeat the process for any other components.
- Spot Clean
Use a cotton swab or pipe cleaner to get at any bits that still have build-up. This might be difficult in some cases, but it’s worth taking the extra time if you want your piece to really shine afterwards. Pipe cleaners are really useful here because they can bend to get into hard-to-reach spots.
- Rinse Thoroughly and Let Air Dry
Finish up the process by giving your bubbler a thorough rinse under warm water. Take your time with this, because it’s really important that you remove any residual cleaning solution. Rinse it, fill it and give it a shake, rinse it again, and just keep going until you’re totally satisfied. Then simply leave it on some paper towels to dry out thoroughly before you use.
An Alternative Approach: Make the Solution in the Bubbler
One alternative method is to add the isopropyl and salt to the bubbler itself. Fill with alcohol up to the water line, and aim to add about half as much salt. Then you simply cover the ends of the bubbler and shake the mixture inside it. This is all well and good in theory but it can be difficult to cover all the holes up and shake – not to mention messy if things go wrong.
How to Clean a Bubbler Without Alcohol
If you don’t want to use alcohol, there are many good alternative solutions you can use in place of it. Then you go through basically the same process as above, except with your substitution.
The most widely-recommended is baking soda and vinegar, which has the same combination of abrasion (from the soda) and solvent (vinegar) to really get up tough stains. If you remember your high school chemistry, though, note that this will foam up when mixed. Alternatively, some people opt for a hot water and lemon juice solution instead.
There are also many purpose-built bong and bubbler cleaning solutions available. While these are generally good, it’s much cheaper (and about as easy) to use the method described above.
How Often Should I Clean My Bubbler?

It’s best to clean your bubbler about once a week, or once every two weeks, if you use it regularly. Of course, this depends on how regularly you use it. If it’s an everyday hitter, every week should be more like the minimum. If you use it more rarely, even though it’s counter-intuitive, you should really clean it after every use – you don’t want the build-up sitting around for months at a time.
One crucial piece of advice is to never leave water sitting in the bubbler. This is the perfect way to get mold, bacteria and a whole bunch of problems brewing in your glass.
Conclusion
Keeping your bubbler clean is a simple task but one you shouldn’t overlook the importance of doing it. Far from just keeping your glass looking its best, it ensures that it’s safe to use and that you get the best flavor from every hit – rather than tasting some old caked-on resin alongside your bud. As always, we recommend cleaning regularly to make this process much easier each time. It’s a pain to come back to it week after week, but it’s much better than losing your glass to gunk and mold.
